1. How to set up Attentive Integration
Connect Attentive to Giftnote with OAuth, send test events, build a gift journey with Giftnote variables, and grow SMS opt-ins.
Written By Giftnote Admin
Last updated 14 days ago
Connect Attentive if you want to send your gift emails from Attentive. Giftnote sends each gift event (for example, a gift message being delivered) to Attentive, and you build the emails in an Attentive journey, which is Attentive's name for an automated flow.
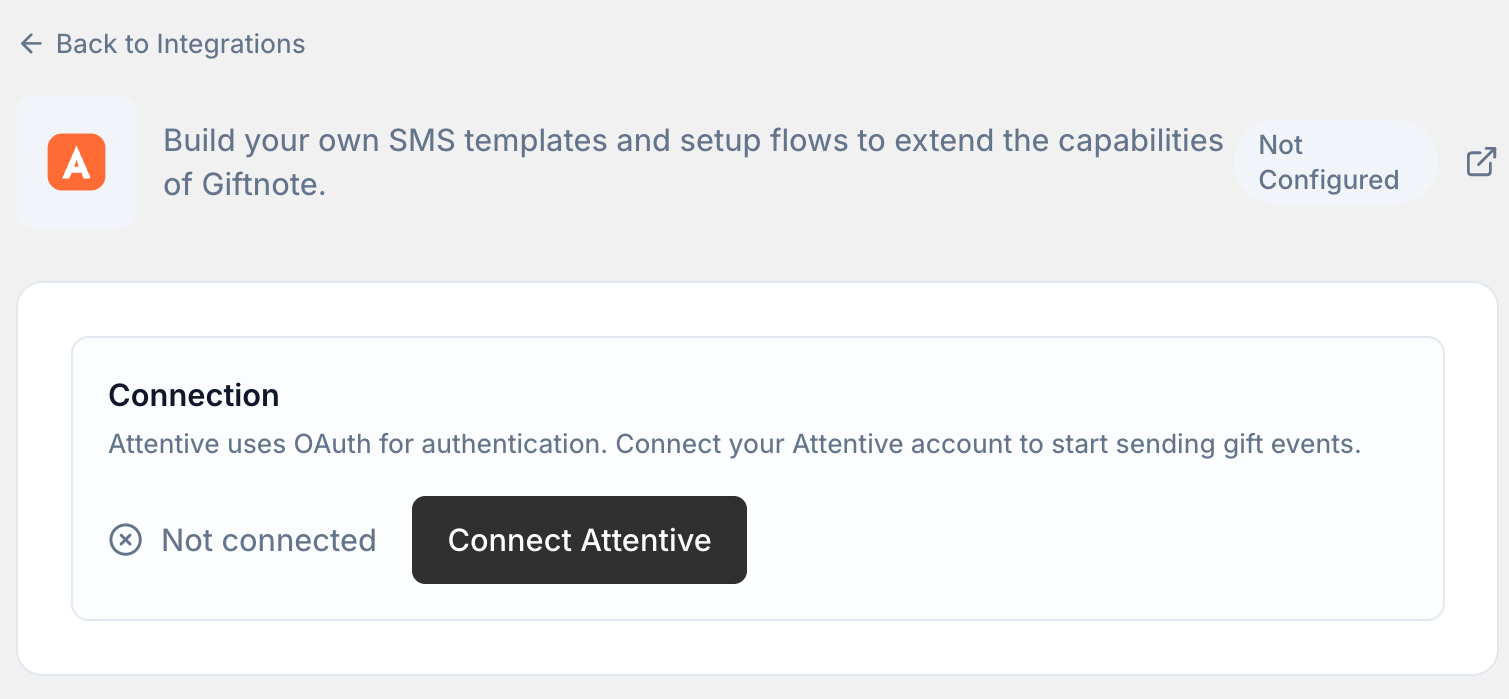
Connect Attentive
- Open Integrations. In the Giftnote app, go to Settings → Integrations. Find Attentive under Available · Marketing and click Connect. If it's already connected, it's under Connected: click Manage settings.
- Connect your Attentive account. Giftnote sends you to Attentive to approve the connection.
- Review the permissions and click Allow. Back in Giftnote, the Connection card reads Connected via OAuth, with Reconnect and Disconnect buttons.
Send test events and check they arrive
- Send test events. On the Attentive settings page in Giftnote, under Notification Events, click Test All, or Test on one event.
- Start a new journey in Attentive. Create it from scratch.
- Check the Giftnote events are listed as triggers. Giftnote's Attentive settings page shows who each event is for (customer, recipient or both).
You can now use these events to start journeys. To change the name Attentive receives for an event, click Edit on it in Giftnote.
Create your journey in Attentive
- Start a new journey and choose Flow.
- Add an email to the flow.
- Write the subject line, for example:
You just received a gift from {{triggerEvent.custom['From']}}! - Build the email with the Giftnote fields:
{{triggerEvent.custom['To']}}: recipient name{{triggerEvent.custom['From']}}: sender name{{triggerEvent.custom['Message']}}: gift message
- Check the exact field names before you build. In Giftnote, click Preview on an event on the Attentive settings page to see every field it sends, including the delivery time.
Attentive sends the email. Giftnote still decides when each event fires.
Turn on the integration
- Go back to the Attentive settings page in Giftnote.
- Leave the switch on for each event you built a journey for. Enable All and Disable All change every event at once.
- Turn on Integration Enabled if it's off. The card then reads "Events are being sent to Attentive". Save if a save bar appears.
Giftnote now sends events to Attentive. If Giftnote also sends the same email itself, turn off that email's channel in Settings → Notifications, or the recipient gets two.
Emails and SMS through Attentive
- Attentive sends Giftnote emails as transactional emails.
- Attentive only sends an SMS if the recipient has opted in to SMS through Attentive. Recipients who haven't opted in still get the email.
To get more SMS opt-ins, add your Attentive sign-up link to the text message Giftnote sends. SMS is included on the Core and Professional plans.
Add a sign-up link to your SMS
- Go to Settings → Notifications in the Giftnote app. SMS is a channel on two notifications: Gift Order - Gift Message Delivered and Gift Card - Delivered to Recipient.
- Open one of them. Under Channels, find SMS and click Edit template.
- Add your Attentive opt-in link to the SMS body and save.
- Repeat for the other notification if you use both.
Example: "You just received a gift 🎁 Sign up to view it via SMS: [opt-in link]"
Moving your Klaviyo gift emails over? See Migrating your Giftnote email flows from Klaviyo to Attentive.
Need help? Chat with us using the chat button in the help centre or in the app, or email support@giftnote.com.
Related articles
Was this helpful?
Still need help? Share an idea